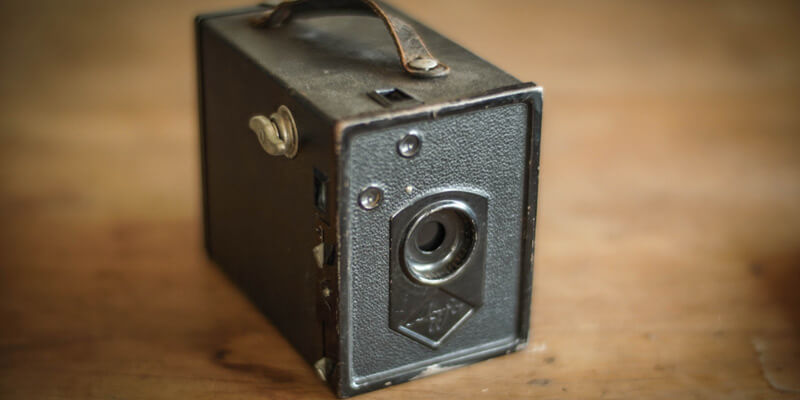
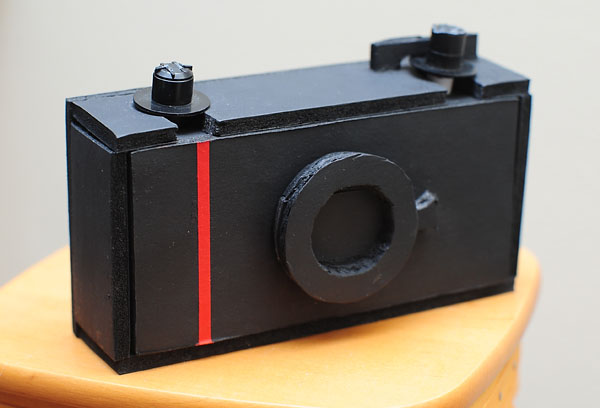
Most people may have heard of DSLR, SLR, compact, mirrorless, and traditional film cameras. These cameras are generally used for capturing ordinary yet beautiful images. However, apart from these, there is one type of camera that is particularly used in long exposure photography. In simple words, if you wish to trace the motion of our Sun over days or even months, or you wish to see an eclipse in its full glory, then you must use a pinhole camera.
How does a pinhole camera work?

The general principle behind the working of a pinhole camera is quite simple. Ambient light enters through a small opening or aperture which acts as the lens of an ordinary camera. It is based on the rectilinear motion of light and results in an inverted image within the camera. Such cameras have been used since 500 BCE. The first person to use a pinhole camera was Ibn al-Haytham who was an Arabic astronomer in 1000 CE. He used the camera to take a glimpse at an eclipse. Since then the camera has found several uses. Even some of the early models of modern cameras were derived from pinhole cameras.
Pinhole cameras are used for specific applications only as they have a huge drawback. How sharp an image is directly related to the size of a pinhole. As the size of the pinhole decreases, the sharpness of the image increases. This means the image will also be dimmer than usual. This is perfect when we wish to observe an eclipse without the intense brightness of the sun burning our eyes. If you wish to make a pinhole camera by yourself here is how you can do it correctly.
Make your pinhole camera
The process of making a pinhole camera on your own is very simple and it doesn’t require many items. Simply follow the steps below and you’ll have made your pinhole camera in no time!
Making the body of the camera
To make the body, you need to do the following.
- To make the body of the pinhole camera, you can use an old paint container, a shoebox, or a cereal box. Be sure to check that the box is clean as you wouldn’t want to damage your images. Also the component you choose to make the body must have a tight-fitting top.
- Once you have tour basic body material, the next step is to paint it black. Make sure you paint every part of the box or can you use it. Proceed to the next step only when the paint dries completely. Repaint if you notice some chipping of paint.
- The next step is to fix the size of your aperture or pinhole. This is very crucial as it will directly affect how clear your image will be. If you use a can or box that is 3 to 6 inches long, a no.10 sewing needle is the ideal choice to make the pinhole. The pinhole must be circular.
- There are two ways to make the pinhole. You can either directly make the pinhole in the back of your camera body or cut a square hole that measures 0.5×0.5inch. The main pinhole will be made on another thin piece of paper or metal and fixed over the square hole by using electric tape. Ensure that you a near-perfect pinhole by looking from the back of the camera. It is where the image will be produced on photographic paper.
Design your shutter and viewfinder
The shutter controls the opening and closing of the aperture. On the other hand, a viewfinder allows us to see what we are capturing as an image. To make them, follow the steps below.
- To make the shutter you need an opaque material. Dark-colored thick cardboard works well for this. Cut a square approximately 2x2inches in size and see if it completely covers the pinhole. Then tape this square over the pinhole in such a way that it can be slid up and down to stop or permit the entry of light. You can use any tape for this.
- The viewfinder can be made from cardboard. The front viewfinder ought to mirror the state of the photographic material and be built straightforwardly over the pinhole. Secure it with solid tape or heated glue.
- The back viewfinder ought to sit on top of the camera and go about as a peephole that permits you to imagine your photograph. You can make a peephole out of a metal washer or cut an ideal hover out of cardboard and join it to the back viewfinder. Once more, secure it with solid tape or craft glue.
The last and the most important component: the photographic material
The photographic material is used to capture the image so that you can view it later.
- You can use either photographic paper or photographic film. Fix this photographic material on the opposite side of your pinhole.
- Make sure that you cut the photographic material in a proper size. It should be the same as the size of your box or can.
- Ensure you cut the photographic material in complete darkness so that it doesn’t get spoiled. Fix this film or paper by using strong tape or glue. If you are using paper, make sure the emulsion side faces the pinhole.
- Once this is done, seal your camera completely and make it completely light-proof.
- derived from pinhole cameras.
By following the above steps, you will have made a pinhole camera of your own. It is preferable to make this camera a few hours before its use. This will ensure that the camera will work perfectly and the image captured will be of great quality.


